Table of Contents
How to Install a Peg Rail for an Upgrade in Wall Storage
Installing shelving is a fairly straightforward DIY job. With a few caveats and details that will be explained, you should be able to upgrade your wall storage options within 15 short minutes.
This particular guide will focus on wall storage with concealed fixings, as there are a few extra steps to take that are ever so slightly more involved. However, all the same principles apply for exposed fixings regarding equipment needed and adherence to wall construction type, just simpler.
Know Your Wall Construction
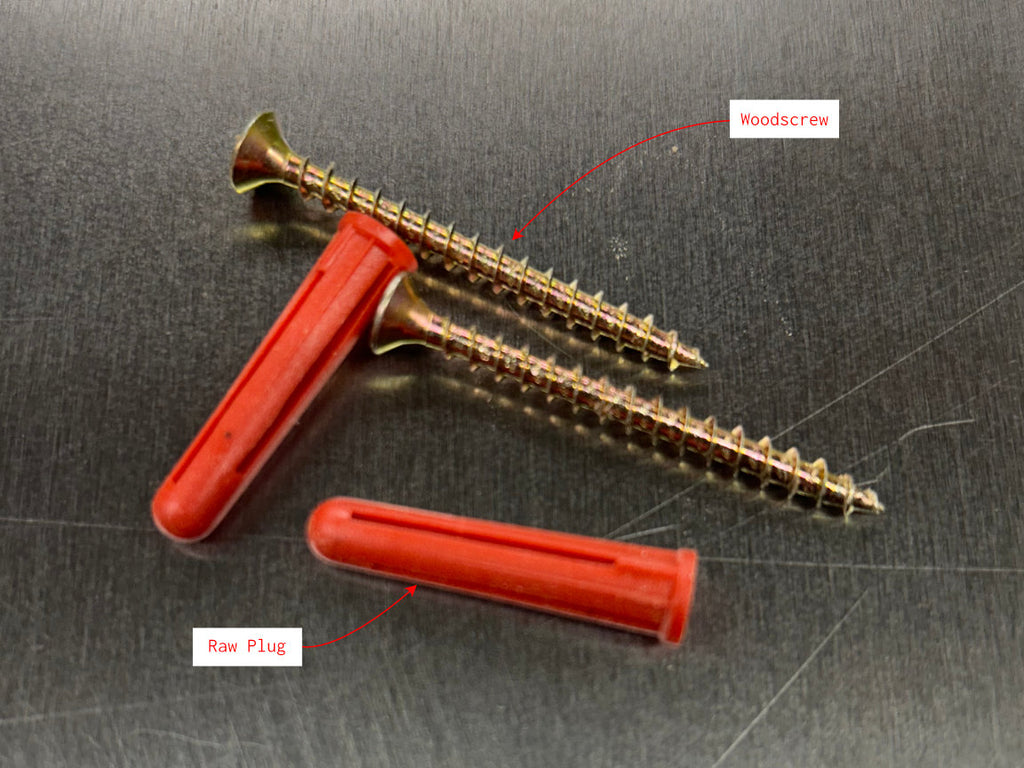
Included with all our shelving solutions will be screws and raw plugs. Now, this is for a standard masonry wall. If the wall you wish to attach the peg rail to is any other form of wall type you should consult your local hardware supplier for the appropriate hardware or a professional.
Top Tip
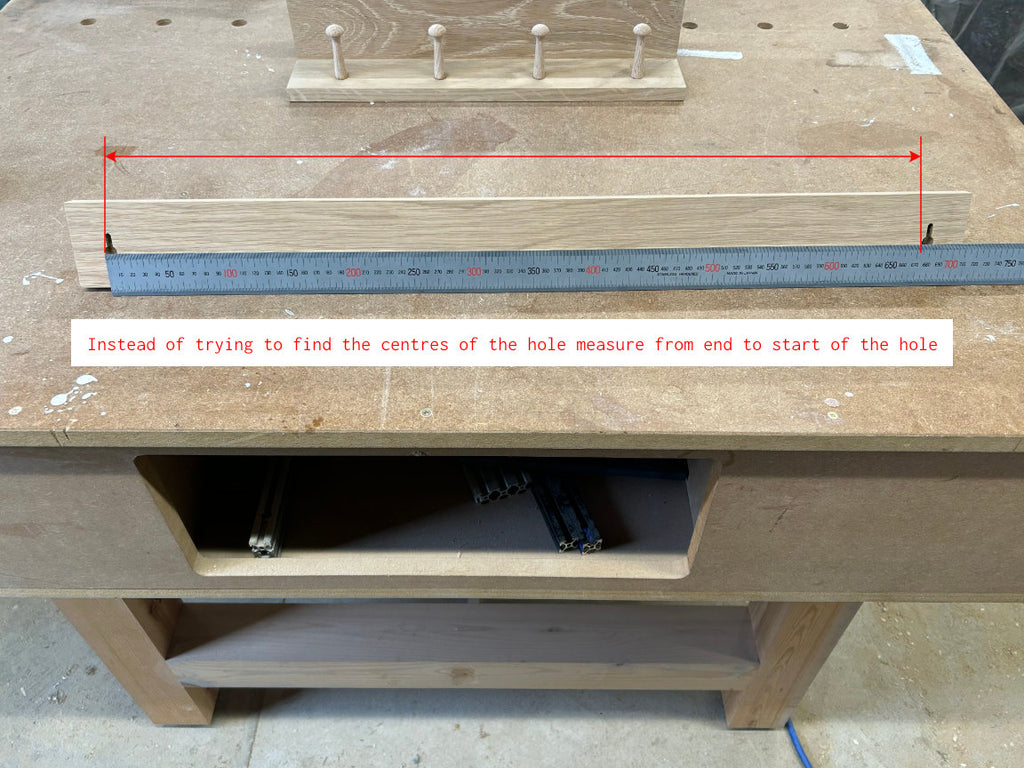
If you try to measure the keyhole distance from centre to centre it is very likely some degree or error will be baked into the measurement. Instead, measure from the end of the keyhole to the beginning of the keyhole; this will give you perfect centre distances.
What You'll Need
- Tape Measure
- Cordless Drill
- Spirit Level
- Pencil
Step by Step Installation Guide
1. Find the Perfect Height: What Height Should Peg Rails Be Mounted
If you're unsure about what height to install your peg rail at a good rule of thumb is 1.5m from the ground. However, feel free to adjust in accordance with what works best for you.
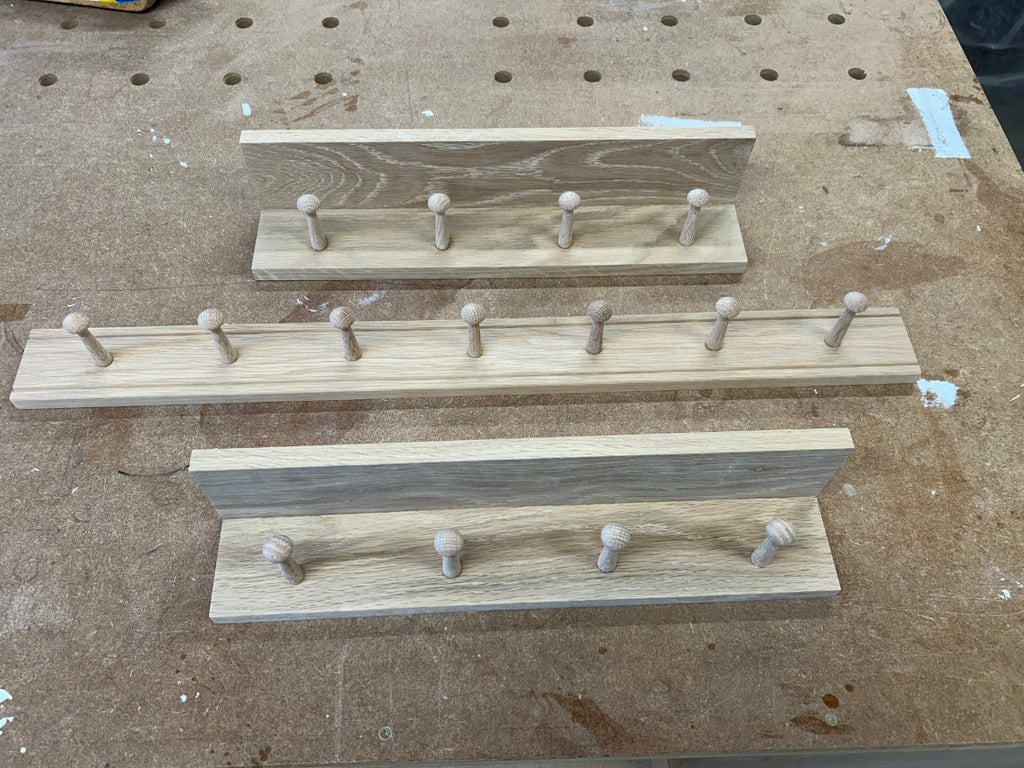
2. Find Fixing Centres
A good illustration of the best way to find your keyhole centres is to use the illustration above. Check and double check measurement and be sure to write down. Measure twice cut once so to speak.
3. Strike Your Marks
Now you have the height and the keyhole centres its time to strike your marks for drilling.
- Using a tape, measure from the ground up to desired distance and strike a mark.
- Now use that mark and line up the peg rail with it. Put the spirit level on top of the peg rail and adjust until level.
- Remove spirit level and using the top of the peg rail draw a line, this will give you a straight line to reference to locate the keyhole centres.

4. Drill Holes
Now you're level and the hole distances are marked its time to drill holes to accept the hardware appropriate for your wall type.
5. Screw in Woodscrews and Hang
Leave woodscrew head proud of wall by several mm. You can now slot your peg rail onto the wall. Check for a tight fit, if theres is slack or loose fitting remove and shorten the distance between the screw head and wall. You can continue to make small adjustments until you have a secure fit.
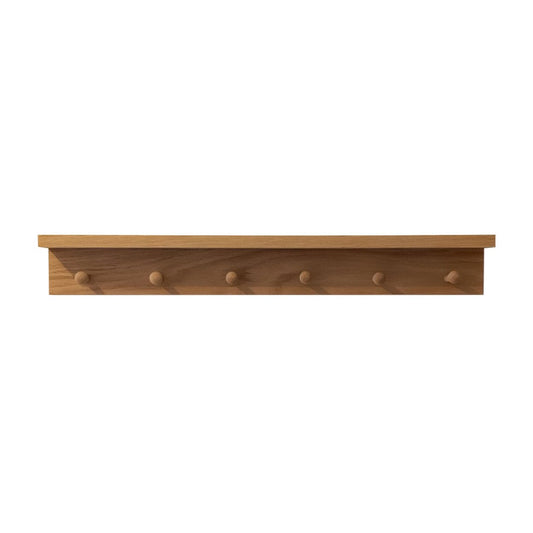
See, easy right? Now you should have the confidence to buy and install a fantastic Solid Oak Shaker Peg Rail for an instant upgrade in style and function to your home.
How Do I Hire the Service Out?
- Open Google
- Type: "[Your City/Location] Handyman" (e.g., "Leicester Handyman")
- Browse top results for trusted handymen in your area
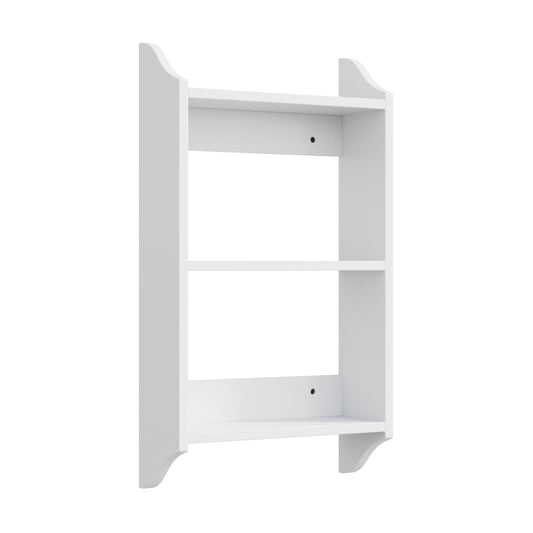
For more Wall Storage options.